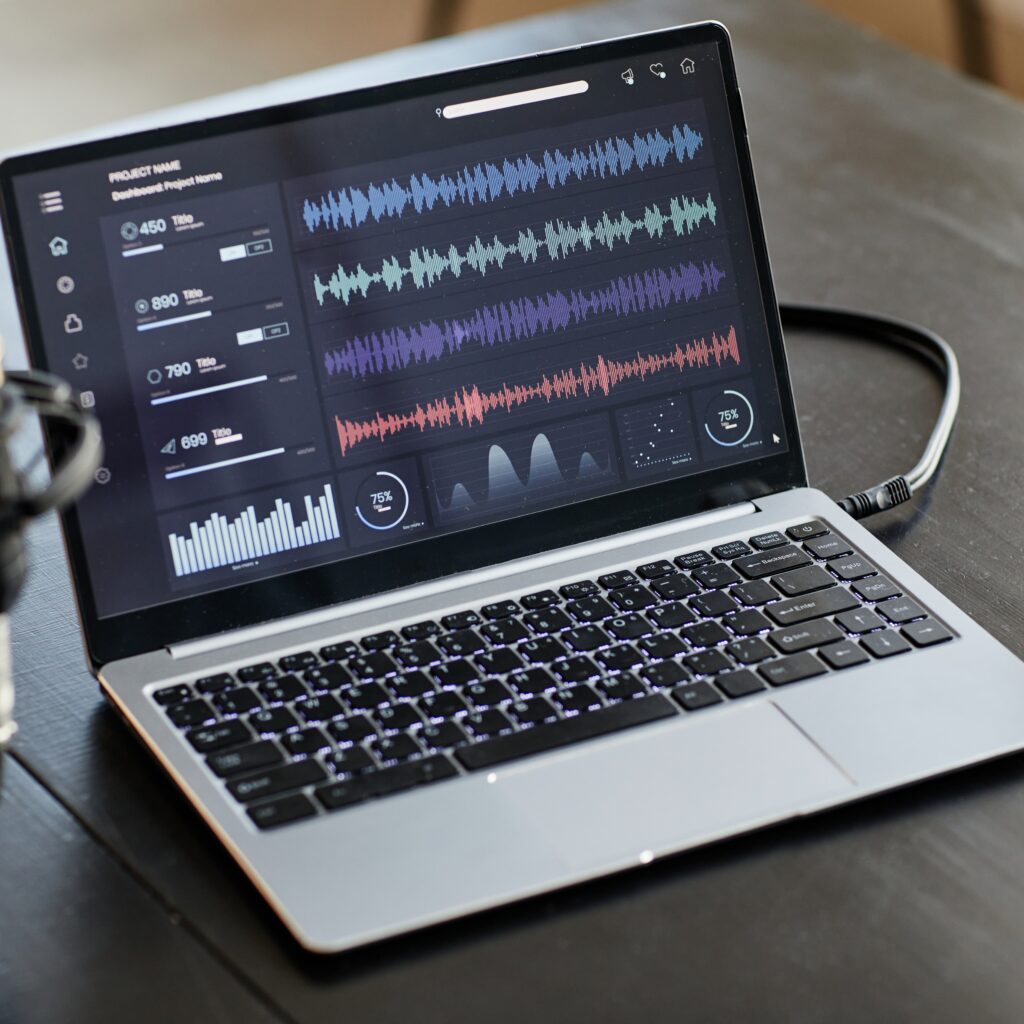
Clipping audio in Audacity is a useful technique when you want to trim down a track or focus on specific sections. Whether you’re working on a podcast, music project, or audio for video, knowing how to clip audio in Audacity can help you streamline your editing process. Here’s a step-by-step guide to help you clip audio effectively.
Step 1: Open Audacity and Import Your Audio File
- Open Audacity and go to File > Import > Audio.
- Select the audio file you want to clip and click Open.
- The audio waveform will appear in the main workspace, ready for editing.
Step 2: Select the Part You Want to Clip
To clip (or trim) your audio, you’ll first need to select the section you want to keep or remove.
- Use the Selection Tool (the I-beam icon at the top or press F1).
- Click and drag over the section of the audio waveform you want to clip.
- Adjust the start and end points by clicking on the edges of the selection and dragging them as needed.
Step 3: Clip the Audio
Once you’ve highlighted the section you want to clip, you can either delete the unwanted parts or export the selected section.
Option 1: Delete Unwanted Parts
- Go to Edit > Remove Special > Trim Audio (or press Ctrl + T on Windows, Command + T on Mac).
- This will delete everything outside of your selection, leaving only the highlighted part.
Option 2: Delete the Selected Section
- If you want to delete the selected section instead of keeping it, go to Edit > Delete or simply press Delete on your keyboard.
- This will remove the highlighted part, keeping the remaining sections intact.
Step 4: Fine-Tune the Edges
After clipping, you may want to smooth out the beginning and end of your audio to avoid abrupt cuts.
- Use Fade In and Fade Out Effects: Select a short section at the beginning or end of the clip, go to Effect > Fade In or Effect > Fade Out to create a smoother transition.
Step 5: Export Your Clipped Audio
After clipping and fine-tuning your audio, you’re ready to save it.
- Go to File > Export and choose your preferred format (e.g., MP3, WAV).
- Name your file, select a destination folder, and click Save.
Additional Tips for Clipping Audio in Audacity
- Zoom In for Precision: Use the Zoom Tool (magnifying glass icon) to get a closer look at the waveform, making it easier to select exact points.
- Undo Mistakes: Made an error? Simply press Ctrl + Z (Windows) or Command + Z (Mac) to undo any recent actions.
Final Thoughts
Learning how to clip audio in Audacity is a valuable skill for anyone involved in audio production. With just a few simple steps, you can trim down your audio files, focus on key sections, and make your editing process more efficient. By mastering clipping and trimming in Audacity, you’ll have greater control over your audio projects and improve the overall quality of your work.